
Magaliesberg Battlefield Tour
The Anglo-Boer War continued after Johannesburg and Pretoria fell
The Magaliesberg is not one famous battlefield. It is a campaign landscape of passes, ridges, farms, roads and repeated actions close to Johannesburg and Pretoria. It is especially valuable for understanding why occupying the major cities did not mean the war was over.

At a glance
A campaign landscape rather than one battle

Pretoria had fallen — the war had not

Boer mobility and British operational problems
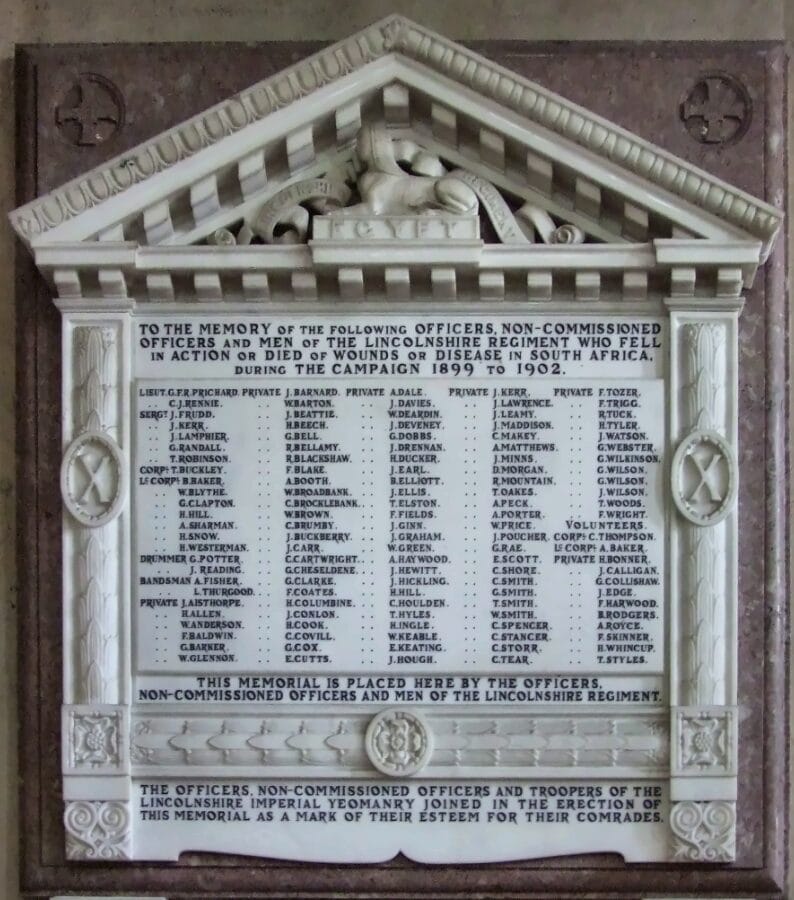
Pretoria and Johannesburg provide the wider context

Maps and specialist field interpretation

Research is optional, not the reason for most tours
Practical suitability
The Magaliesberg funnels movement through a difficult physical geography
Military movement repeatedly depended on ridges, valleys, passes, farms and the limited routes available through the range. Following the landscape makes it easier to understand why particular positions became important and how forces could move, disappear, regroup and reappear.
The website does not publish Ekala’s complete stop-by-stop battlefield route. The exact actions selected depend on time, access and the client’s interests.
Occupation of a capital was not the same thing as military control
The Magaliesberg helps explain the central contradiction of the later war. British forces held Johannesburg, Pretoria, railway lines and major centres, yet Boer commandos continued to operate across the countryside.
This is one of the clearest places to understand why the conflict changed character rather than simply ending with the capture of the ZAR capital.
The landscape helps explain the strengths and limitations of both sides
Boer forces could use local knowledge, mobility and dispersal in a landscape that made control difficult. British forces faced genuine problems of intelligence, communication, protecting routes and identifying mobile opponents across a wide area.
Ekala avoids turning this into a simple clever-Boer versus foolish-British story. Both sides are interpreted within the military realities they faced at the time.
The battlefield story becomes stronger when the cities are understood
Pretoria explains the ZAR capital, the forts, British occupation and the political importance of the city. Johannesburg adds the gold economy, mining interests and tensions that formed part of the background to the war.
For clients with time, combining a Magaliesberg battlefield day with Johannesburg or Pretoria historical touring can provide much stronger context than approaching the regional actions in isolation.
Many positions do not look like conventional tourist battlefields
A ridge, farm road or pass may appear unremarkable until the historical positions and movement are reconstructed. Ekala uses maps and specialist reference material in the field where they help the client relate the historical action to the modern landscape.
Ekala has more than thirty battlefield and route-specific reference books, more than half written by Malcolm, together with maps and accumulated route material. The site does not publish the complete working route or research method.
Historical interest is enough
A client may have followed the Anglo-Boer War for years, want to understand a particular Magaliesberg action or simply have the region on a battlefield bucket list. No ancestry connection is needed.
If a specific participant, unit or unresolved historical question does matter, Ekala’s separate research service can sometimes add depth before the tour. That remains a minority use of the battlefield page.
Some positions are easier than others
Access can involve private land, changing conditions, rough tracks, uneven ground or slopes. Ekala therefore structures the route around what can realistically be reached and what will provide the most useful understanding on the day.
Battlefield touring is not actively promoted for visually impaired travellers because seeing spatial relationships is central to the experience. A specific personal or bucket-list request can still be considered individually.
Pretoria Historical
Understand the capital, forts and political context before or after the battlefield landscape.
Battlefield Tours South Africa
Place the Magaliesberg within Ekala’s wider battlefield programme.
Cape Colony to Pretoria
Follow the British advance north and then ask why the war continued after Pretoria fell.
Explore the Magaliesberg campaign
Tell Ekala which aspect of the Anglo-Boer War interests you, how much time you have and where you will be based. Ekala will select the most useful battlefield ground rather than sell a generic list of stops.